
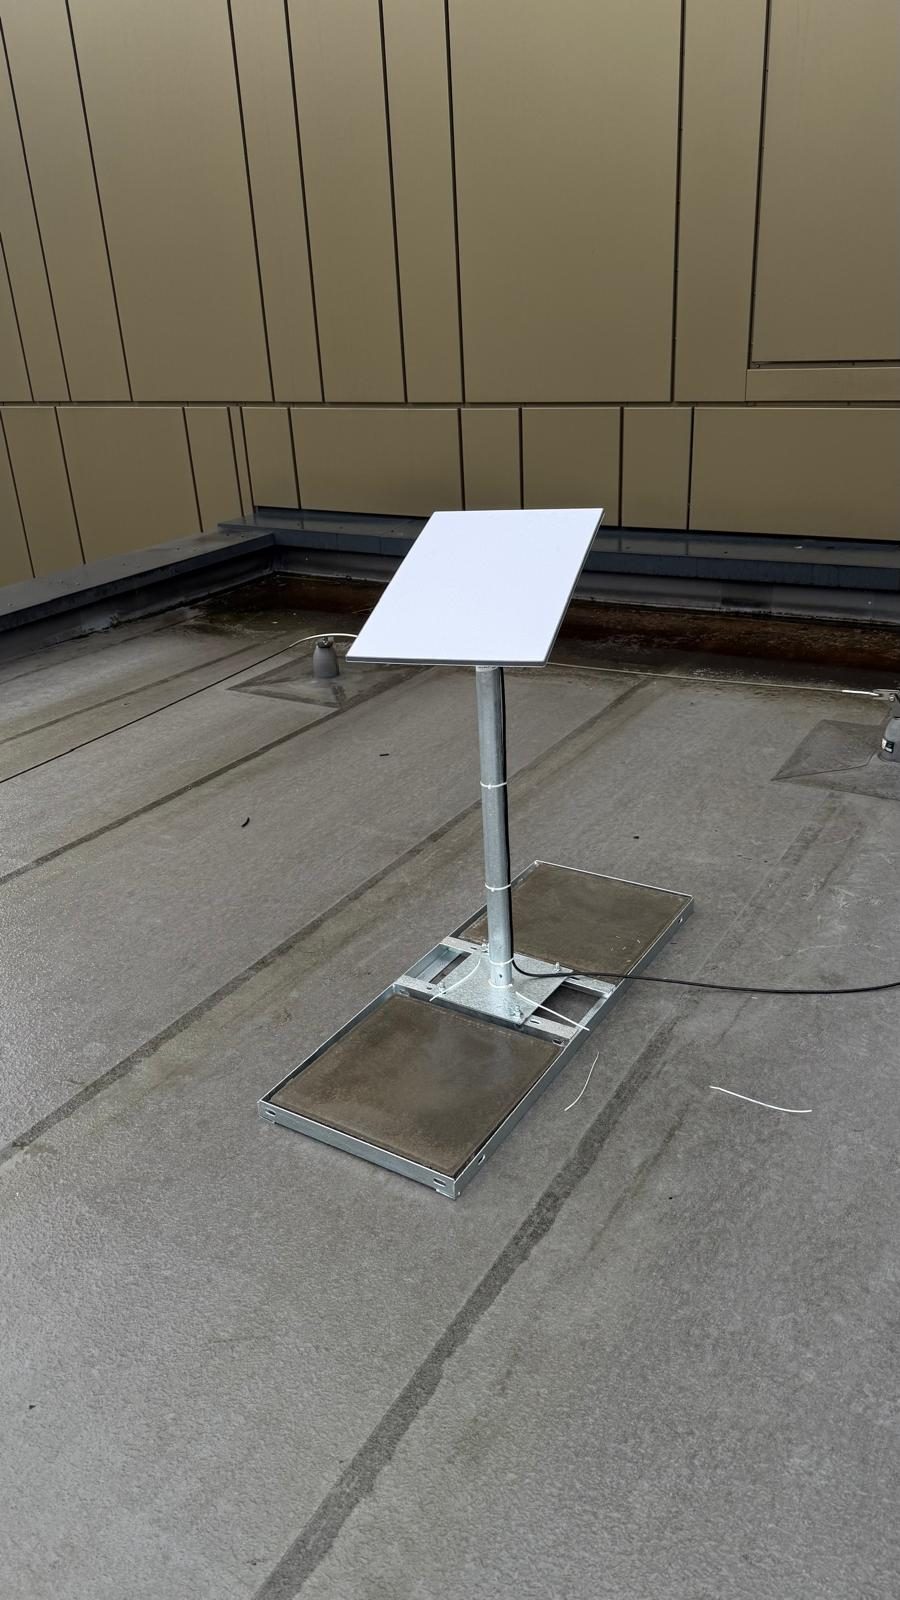
If the Starlink app shows a healthy connection at the router but phones, televisions or laptops slow down elsewhere in the property, separate the satellite service from the local network before replacing anything. The restriction may be coverage, interference, client capability, router placement or the backhaul between Wi-Fi points rather than the dish.
Start with two comparable tests
- Use the current Starlink app to check service status, obstructions and any router-to-internet test available for the installed kit.
- Run a test on the affected device close to the active Starlink router or access point, then repeat it at the problem location using the same device and test method.
A healthy service-side result with a materially weaker result in one room points the investigation towards the local Wi-Fi path. Poor results at both points may instead require checks of the Starlink service, dish view, cabling, power or account status. Results also vary with network load, the client device and current service conditions, so one headline speed is not a guarantee. For the current provider ranges and the evidence needed to interpret a test, see our Starlink speed guide.
Identify the exact Starlink kit before changing the network
Starlink hardware, router ports, accessories and app menus vary by kit generation and market. Do not assume that advice written for another model applies to the equipment on site. Record the kit and router shown in the account, inspect the available ports and check the current official Starlink support instructions for that exact hardware before ordering an adapter or enabling bypass mode.
Some Starlink routers have built-in Ethernet connections; other installations may need a compatible adapter. Bypass behaviour and the method for returning to the original router configuration must also be confirmed for the installed generation. This guide deliberately does not treat one port, adapter or menu path as universal.
Choose the topology from the property, not the badge
- One well-positioned router or access point: may be enough for a compact property where the measured coverage already reaches the important rooms.
- Consumer mesh: can suit a finished property when every node has a tested upstream link and the required controls are supported by the exact model.
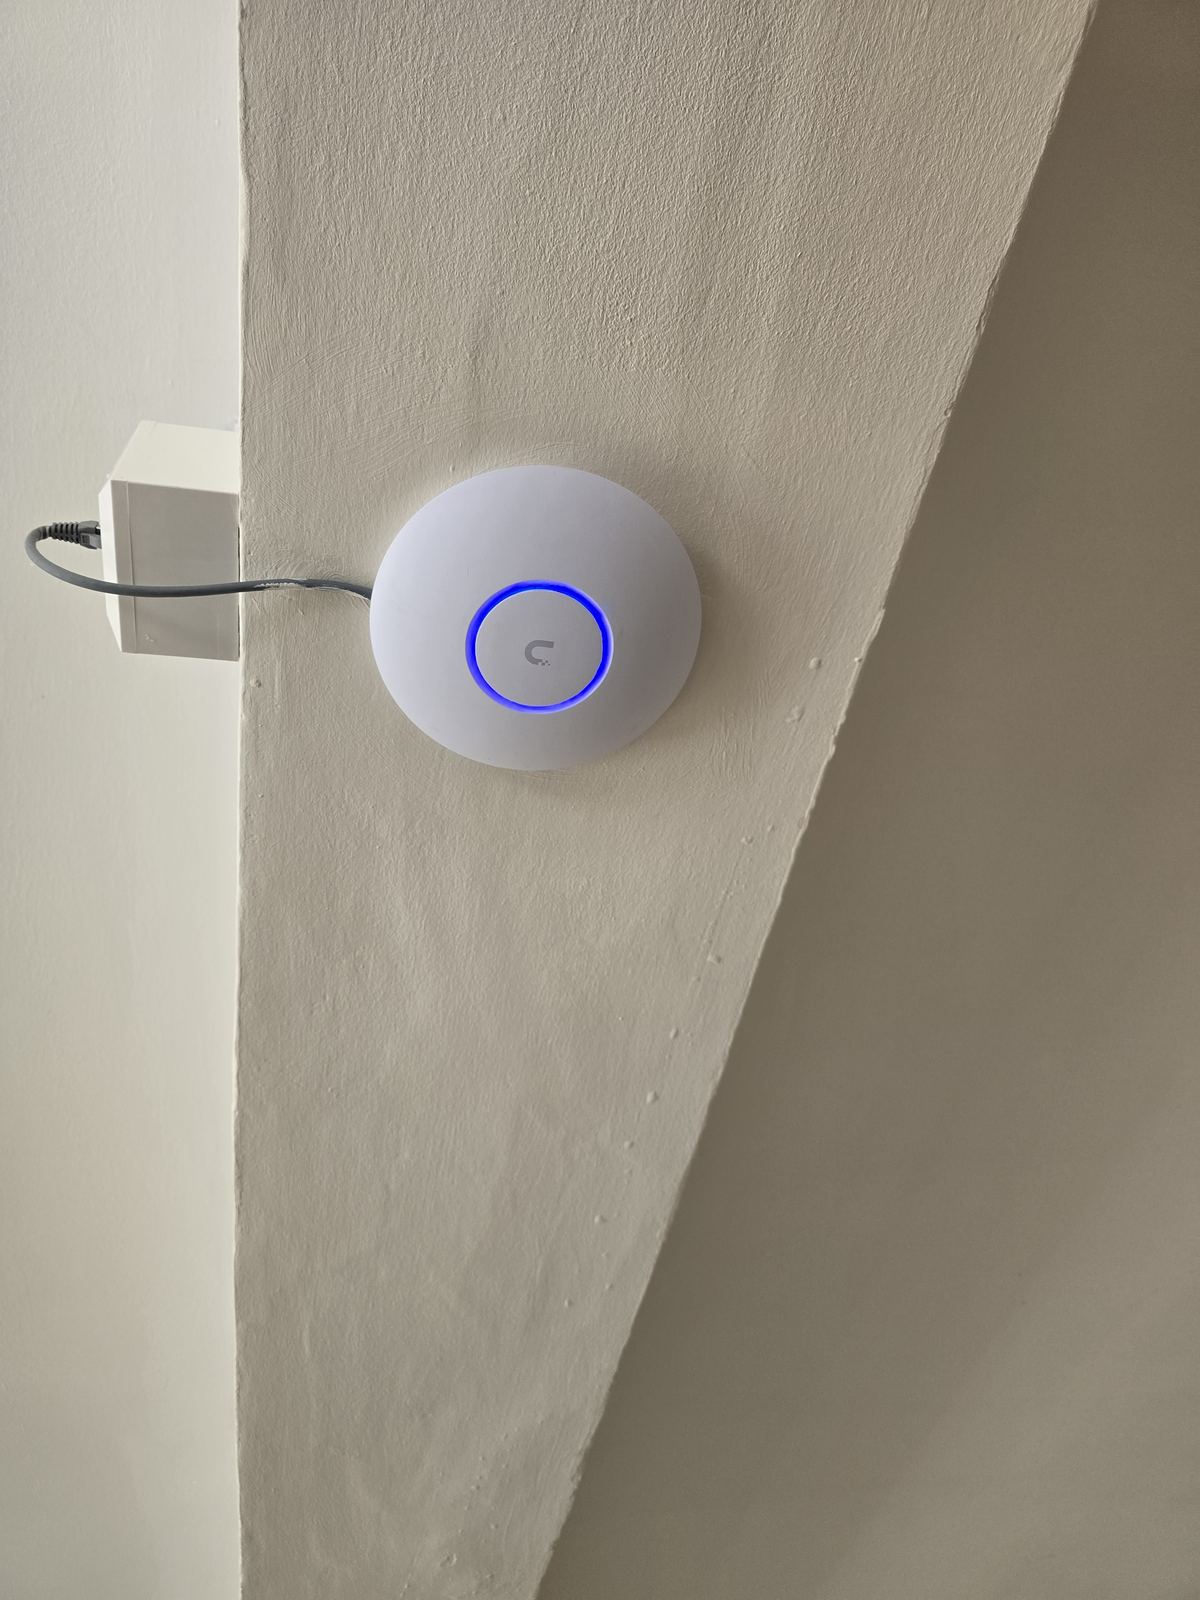
- Ethernet-backhauled mesh or wired access points: separates the room-to-room backhaul from the client Wi-Fi and can be more predictable where a suitable cable route exists.
- Separate gateway or dual-WAN design: should be specified around routing, failover, support ownership and the applications that must reconnect, not assumed from a product name.
Wireless backhaul shares radio resources and can become the limiting path, but it does not lose one fixed percentage at every hop. Bands, channel use, node placement, interference, concurrent traffic and client capability all change the result.
What we check during a Starlink Wi-Fi retrofit
- The installed Starlink kit, router, account state and current official setup route
- Service-side status and obstruction information before changing the LAN
- Router, DHCP and NAT ownership so two devices do not accidentally compete for the same role
- Candidate access-point positions and any acceptable Cat6 routes
- Signal, throughput, latency and loss at the rooms and devices that matter
- Guest, IoT or CCTV separation only where the gateway, switch and access points support the agreed policy
- A recorded final configuration and representative tests after the change
Sources and review boundary
Starlink setup statements were reviewed on 5 September 2026 against the current Starlink Support route. Starlink can change hardware, accessories, firmware and account instructions, so the installed kit and current support article remain authoritative at the time of work.
Frequently asked questions
Do I have to replace the Starlink router?
Not automatically. First identify the installed kit and the actual bottleneck. A different router, compatible mesh or wired access points may be justified, but the connection method and bypass procedure must follow current support for that hardware.
Can I use my own mesh system with Starlink?
Potentially, where the exact Starlink kit provides a supported Ethernet or bypass route and the mesh can take responsibility for the intended network role. Check compatibility, avoid accidental double routing and test the finished topology.
Will new Wi-Fi equipment increase Starlink speed?
It cannot increase the service delivered by Starlink. It may remove a local coverage or backhaul restriction, but the final result remains limited by the service, router, network path and client device.
How many access points will I need?
There is no reliable room-count rule. Construction, layout, interference, cable routes, client demand and the required coverage areas must be assessed before deciding the number and positions.
Can an existing Starlink installation be upgraded?
Yes, subject to the installed kit, account access, safe cable routes and a confirmed local-network fault. We preserve a working dish installation where appropriate and change only the network scope that has been agreed.
See Starlink installation and integration or Wi-Fi and home network installation for the relevant service scope.
Need Wi-Fi, cabling or a proper home network sorted across Stockport, South Manchester, Tameside or East Cheshire? Evolution Data & Digital is a local, engineer-led business — the same engineer surveys, quotes and installs. We test the property properly, explain the honest fix and agree a fixed price before any work begins. Call 0161 399 1757, send a WhatsApp, or contact us online.
Clear written quotation before any chargeable work. Short-notice appointments may be available across Stockport, Greater Manchester and Cheshire.